Setting up step-ca with Keycloak
Table of content
step-ca is an online Certificate Authority (CA) for secure, automated X.509 and SSH certificate management. It uses the concept of provisioners to issue certificates for humans or machines.
In this tutorial we will be using OIDC provisioner to get X509 or SSH certificates after authenticating with Keycloak. Note that any identity providers with OpenID Connect is supported, so Google, Okta, Auth0, etc. can be used.
Prerequisites
Before we get started, make sure you have:
Now let’s get started.
Setting up services
This is the basic architecture diagram for our services: 
step-ca need to connect to Keycloak through HTTPS to function properly, or it will throw an error (use a valid provider: google) when using OIDC provisioner. See this comment and explanation.
Here’s the docker-compose.yaml:
services:
  ca:
    hostname: ca
    build:
      dockerfile: Dockerfile.ca
    environment:
      - DOCKER_STEPCA_INIT_NAME="Smallstep Demo"
      - DOCKER_STEPCA_INIT_DNS_NAMES=ca.demo.null
      - DOCKER_STEPCA_INIT_REMOTE_MANAGEMENT=true
      - DOCKER_STEPCA_INIT_SSH=true
    networks:
      front:
        aliases:
          - ca.demo.null

  cli:
    hostname: cli
    build:
      dockerfile: Dockerfile.cli
    # We need this so we can exec into the container to manage step-ca
    tty: true
    # This port needed to be mapped so browser-based auth can work
    ports:
      - "10000:10000"
    networks:
      front:

  caddy:
    hostname: caddy
    image: caddy
    ports:
      - "443:443"
    volumes:
      - "./Caddyfile:/etc/caddy/Caddyfile"
      - "./certs:/etc/caddy/certs"
    networks:
      front:
        aliases:
          - sso.demo.null

  ssh:
    hostname: ssh
    image: linuxserver/openssh-server:latest
    environment:
      - PUID=1000
      - PGID=1000
      - USER_NAME=jeff
    volumes:
      - "./ssh:/config"
    networks:
      front:
        aliases:
          - sso.demo.null

  keycloak:
    hostname: keycloak
    image: quay.io/keycloak/keycloak:22.0.1
    command: start
    environment:
      - KEYCLOAK_ADMIN=admin
      - KEYCLOAK_ADMIN_PASSWORD=admin
      - KC_HOSTNAME=sso.demo.null
      - KC_PROXY=edge
      - KC_DB=postgres
      - KC_DB_URL=jdbc:postgresql://db/keycloak
      - KC_DB_USERNAME=keycloak
      - KC_DB_PASSWORD=keycloak
    networks:
      front:
      back:

  db:
    hostname: db
    image: postgres
    environment:
      - POSTGRES_PASSWORD=keycloak
      - POSTGRES_USER=keycloak
      - POSTGRES_DB=keycloak
    networks:
      back:

networks:
  front:
  back:
Here’s Dockerfile.cli
FROM smallstep/step-cli

USER root

RUN apk add ca-certificates openssh

COPY certs/ca.crt /usr/local/share/ca-certificates/ca.crt

RUN update-ca-certificates
Here’s Dockerfile.ca
FROM smallstep/step-ca

USER root

RUN apk add ca-certificates

COPY certs/ca.crt /usr/local/share/ca-certificates/ca.crt

RUN update-ca-certificates
Here’s the Caddyfile
sso.demo.null

tls /etc/caddy/certs/ca.crt /etc/caddy/certs/ca.key
reverse_proxy * keycloak:8080
Note that since we’re using self-signed certificate, we need to install it to both the cli and ca trust store. To do this, we’re gonna use custom Dockerfiles to bake our CA certificates into our images.
First, make all the required directories:
Then generate our self signed certificate:
This should be your directory structure:
|
|
| |
|
Finally, bring up all the services:
Then add 127.0.0.1 sso.demo.null to your /etc/hosts (Here’s how to do it).
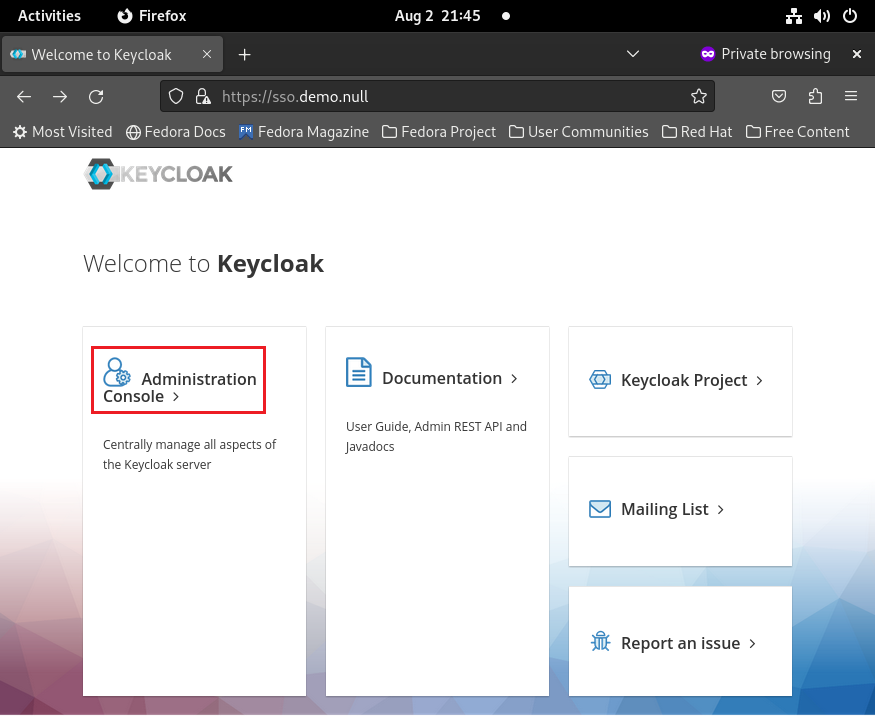
Keycloak configuration
Visit https://sso.demo.null in your browser, then accept the insecure certificate warning:
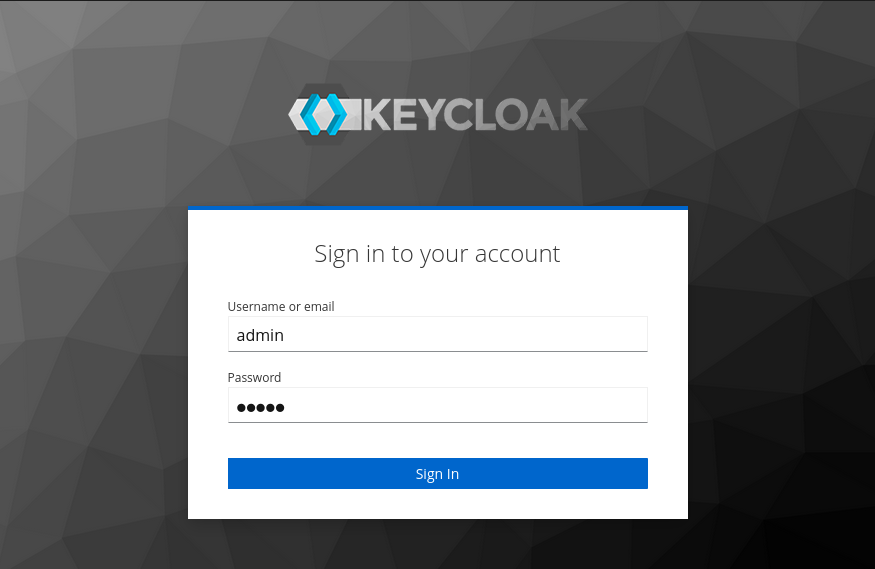
Login to Keycloak with username / password: admin / admin:
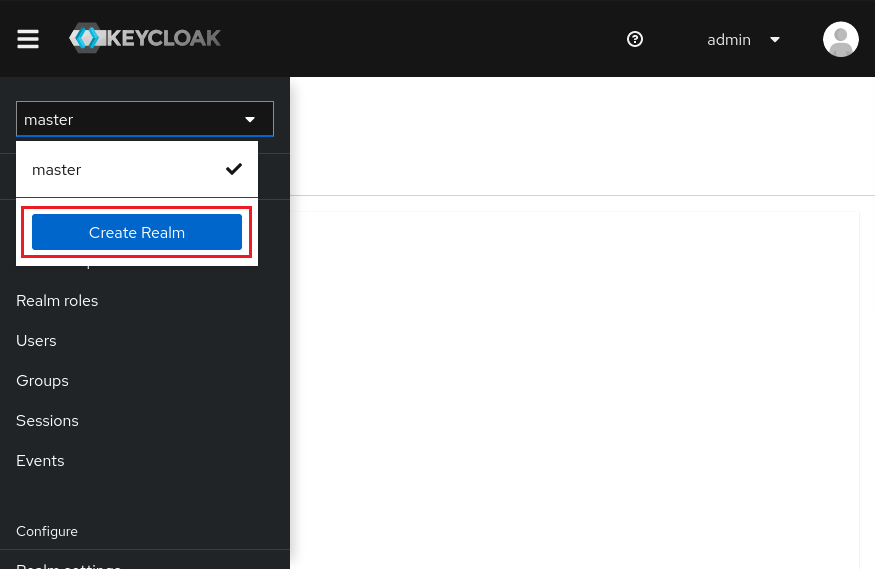
Then add a new realm for step-ca. You can name it anything you like, I’m using step here:
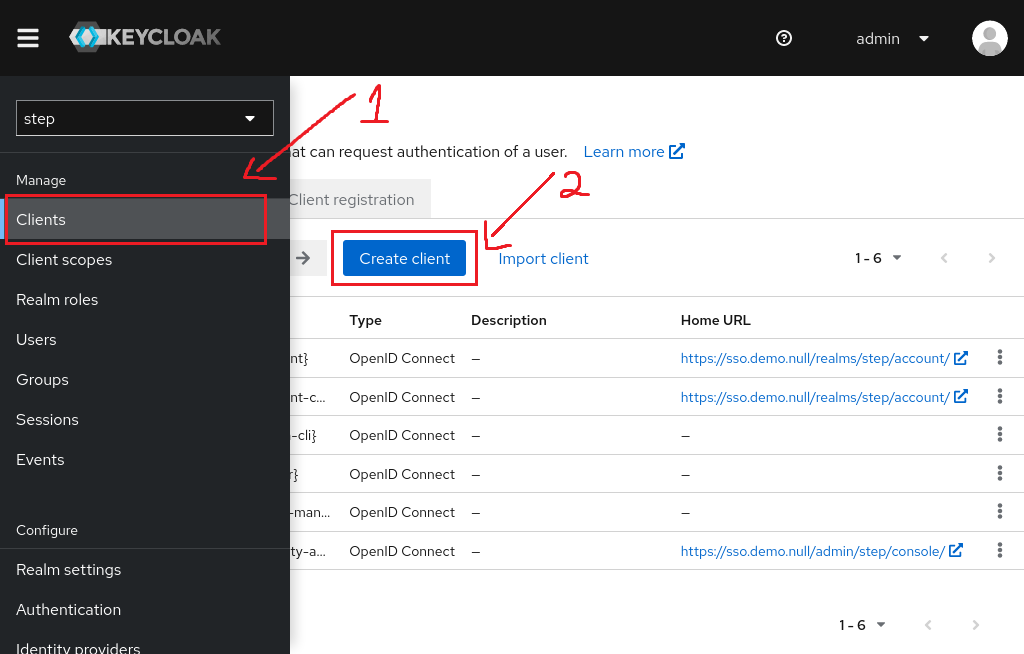
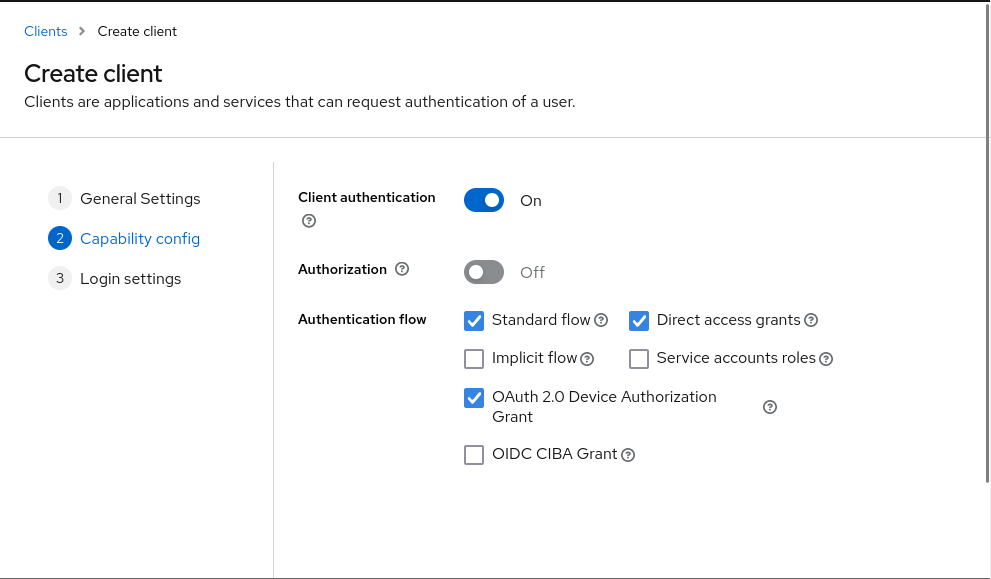
Then create a client for step-ca. I’m also using step as the client ID. Remember to turn on Client authentication and tick OAuth 2.0 Device Authorization Grant for browserless environment.
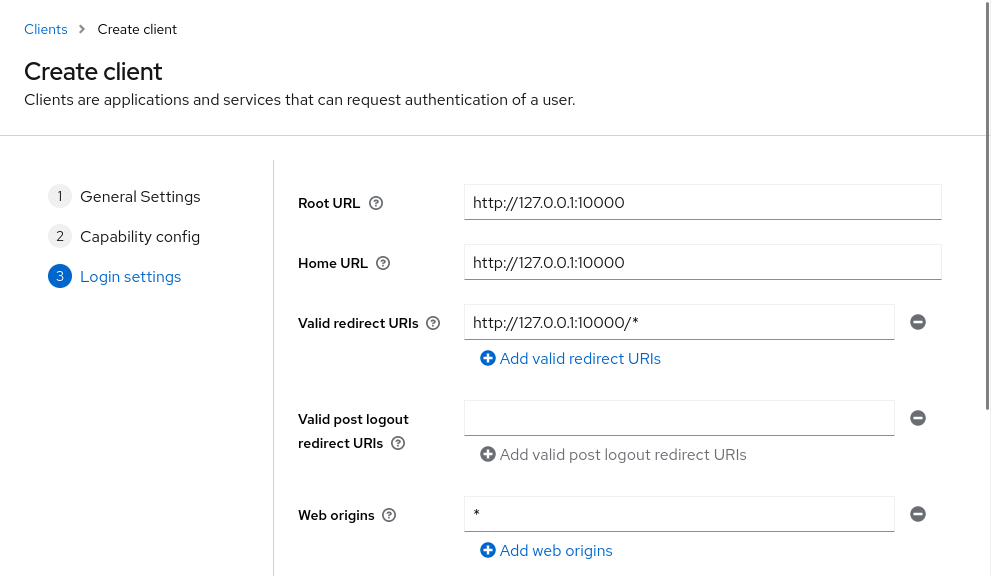
For the Root URL and Home URL, set both to http://127.0.0.1:10000
For the Valid redirect URIs, set to http://127.0.0.1:10000/*
Use * (a single star) for Web origins
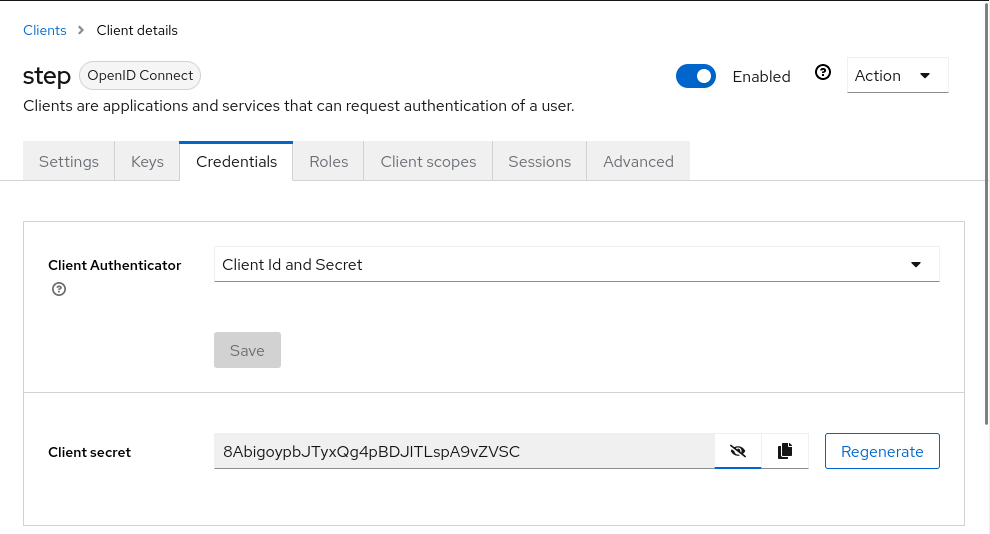
Click Save. Now go to the Credentials tab and take note of your Client secret. We’ll need this later when configuring step-ca.
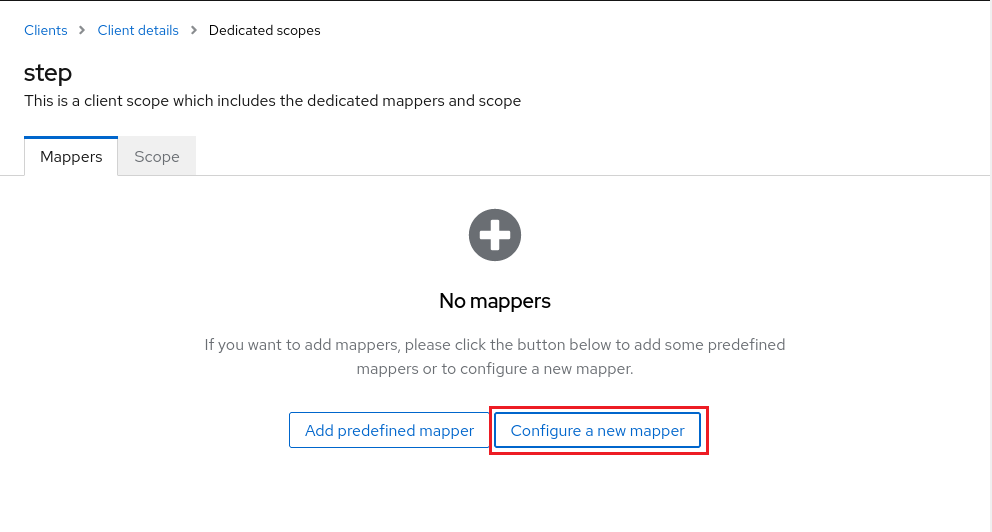
Now go to Client scopes. Since Keycloak version 19, it no longer includes client ID in the aud claims returned in the access token. More information in this issue and this forum thread.
So, we need to manually add a static mapper for the aud claims. Select <client id>-dedicated in the Assigned client scope column, then click Configure a new mapper. Then choose Audience in the popup:
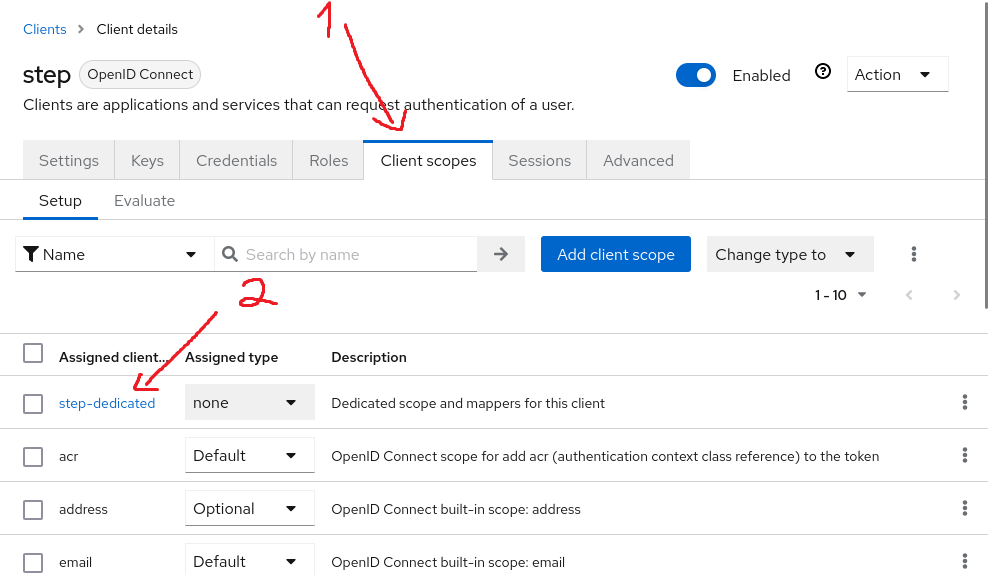
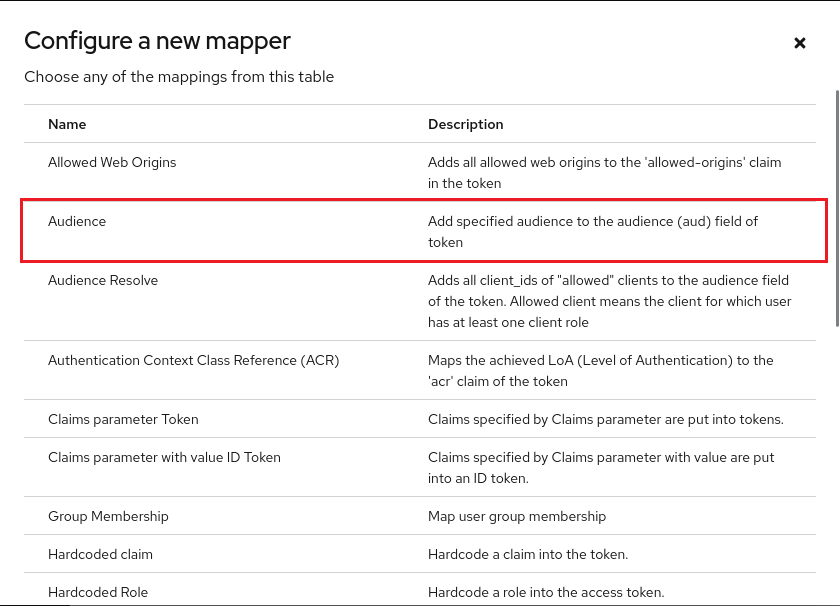
You can choose any name here. Make sure your client ID is selected in Included Client Audience. Also make sure Add to access token is turned on.
Click Save.
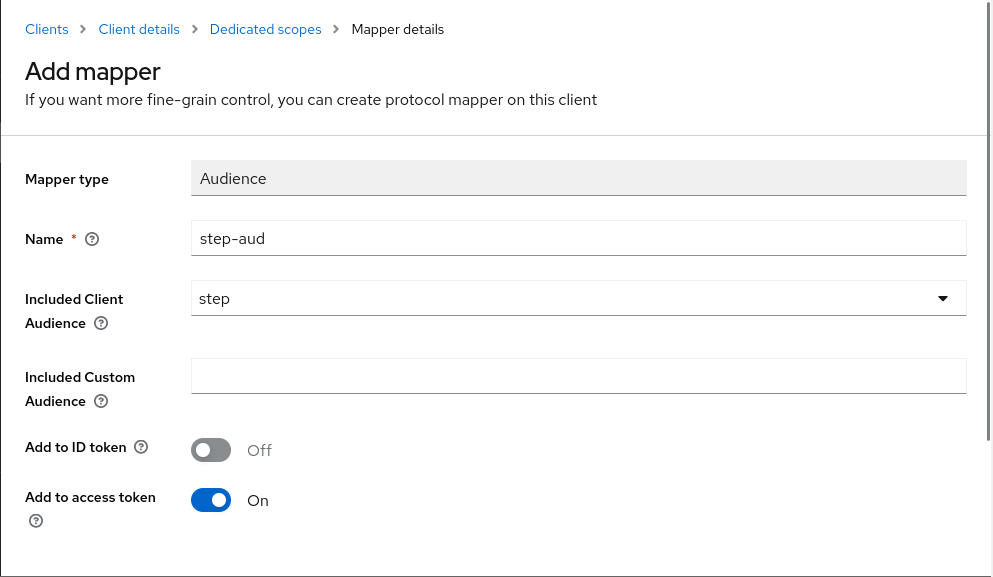
Now get the OpenID endpoint configuration. Select Realm settings in the sidebar, then scroll down to OpenID Endpoint Configuration. Save that link for later.
You might also want to enable registration in Keycloak. In the same sidebar, choose Login tab and turn on User registration.
You’re done configuring Keycloak!
Step-ca configuration
First, we need to exec into the cli container. Run
You should be dropped into a shell. Now we can bootstrap step from the shell. We need fingerprint to do so, and also username and password of the first provisioner that step-ca created for us.
In another terminal, check the logs of ca container:
|
|
|
|
Then bootstrap step in the cli container:
Now add OIDC provisioner to step-ca. Use the client ID, client secret and configuration endpoint from Keycloak as setup above. It should ask for the admin credentials. Choose JWK provisioner and enter the username and password from step-ca.
)
)
You should be able to get certificates after signing in through Keycloak now!
Test drive
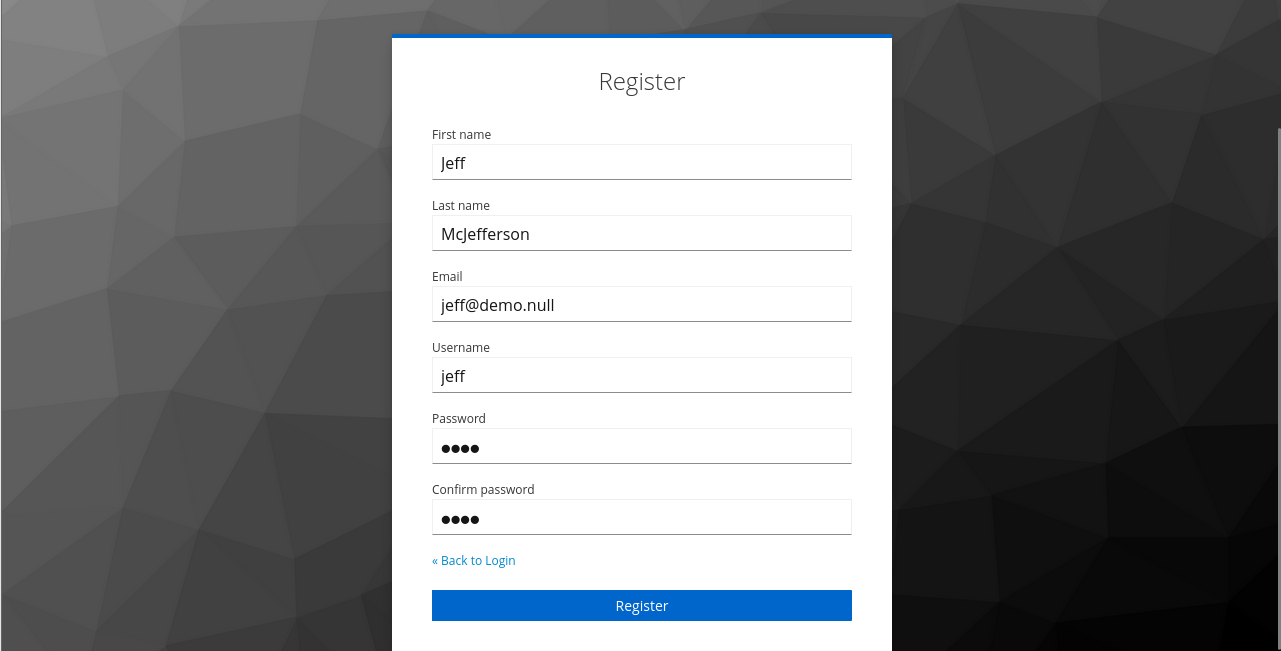
We need a valid user at Keycloak to test our setup. Visit https://sso.demo.null/realms/step/account/#/, select Sign in, choose Register and register a new account
⚠️ Note: User email should be @demo.null, as we configure the OIDC provisioner to only generate certificates for that domain.
Now switch back to the terminal in cli container. Let’s try generating a TLS certificate for our new user.
)
)
The --console is for headless OIDC authentication. It should print out an URL and a code for you to enter. Visit that URL and enter your code, after logging in with the new user created above. After that, you should have your certificates in your current directory.
Congratulations! You’re now able to get TLS certificates without pinging your trusty sysadmin!
Generating SSH certificates
Configuring SSH server to accept SSH certificates is a little more involved. First, we need to get SSH User CA Key from step-ca (it should be in the logs):
| |
|
Now copy everything after the colon (ecdsa ...) and put it in a file named step_ca_user_pub in the ssh/ssh_host_keys folder.
Edit ssh/ssh_host_keys/sshd_config and added TrustedUserCAKeys /config/ssh_host_keys/step_ca_user_pub to the bottom. Then restart the ssh service.
# Do your editing
Then in your cli container, get an SSH certificate for user jeff on your ssh container. Since step ssh doesn’t have --console flag, we have to do some manual work here:
)
You can try inspecting your certificate for more details
)
)
Finally, try ssh into your ssh container:
Congratulations! You can now get yourself a shiny new SSH certificate for your SSH servers!
More reading
You can find more information on:
Also check out these videos:
Let me know in the comments if you have any issues!